Audi S4 full paint correction, scratch removal and glass coating.
- Luxury Details
- Jan 7, 2018
- 3 min read

This Audi S4 was recently purchased by the customer 3 days before we received it. Upon further inspection of the painted surfaces and some testing with some polishing, we found out that the vehicle would need a 3 step compounding and polishing to get it back to better than new condition. For a job of this level we always like to talk with the owner to make sure the service requested matches their lifestyle, expectation as well the level of after care they are willing to commit to. If a customer is going to run their vehicle through automatic car washes, use improper washing techniques, and/or don't have the time to personally care for there vehicle the correct way, it will end up being a waste of there money to get there vehicle's paint detailed to perfection. In this case the owner was willing to learn (with the help of Luxury Details, internet and you tube) how to properly care for the vehicle after the detail to protect his investment and get the most out of the money spent on the detail which is very important to us. Now that that's out of the way let's move onto the process of this 30 hour detail!!!


As you can see from the pictures above the paint was in pretty bad shape. As in most cases a lot of damage is caused by improper washing and touching of the paint. We first start with the compounding stage to remove all but the deepest of scratches, normally 95-98% is achievable. Its quite important to keep in mind that essentially what is being done is leveling of the clear coat, so material is being removed. Its always important to remove as little as possible for a number of reason, number one being there is only so much that can be removed before the vehicle will need re-clear coated and we don't want that!. Number two being we want to leave enough clear coat on there for future repairs if there needed. Measuring paint and clear coat thickness is very important when determining how much material there is to work with and the level of correction that is safe for the paint. After the compounding stage we use a finishing polish to refine the surface even more and remove any slight hazing left over by the compounding stage. Below are after shots of the images above after a 2 step paint correction.

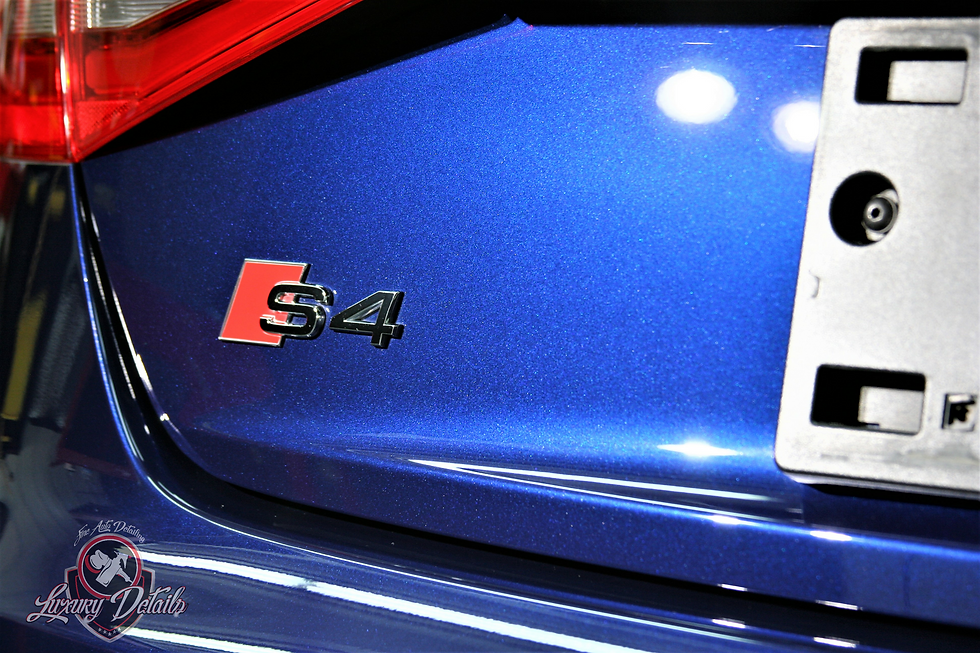
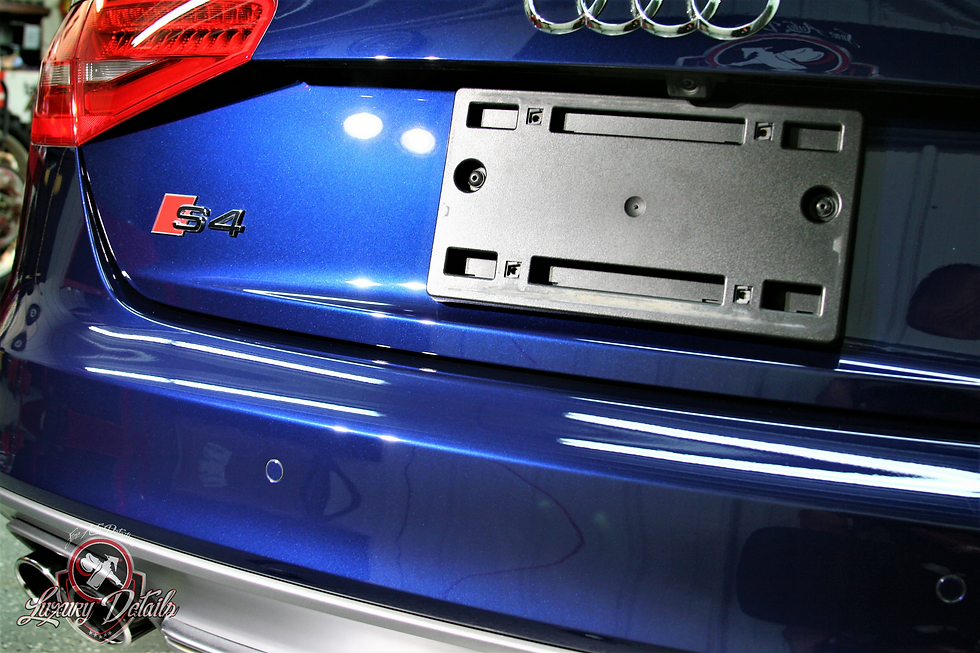
Another area that needed significant amount of work were the B-pillars. Though these are not painted they can be polished just like paint, Just a little harder to finish down being that they are quite soft. Tape is applied around the areas that will be polished to protect the rubber trim pieces.

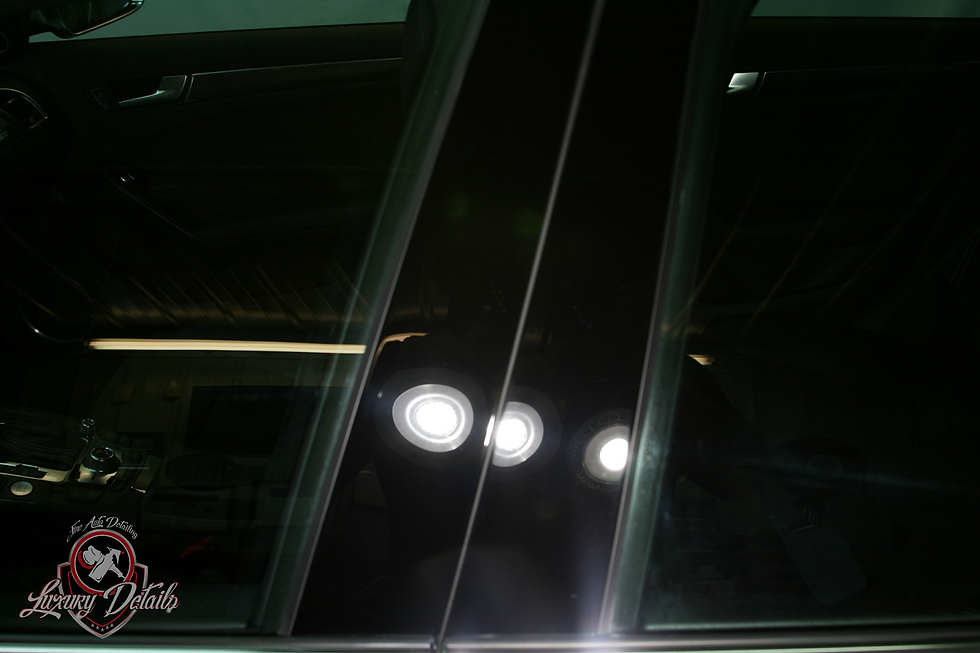
What a world of difference that makes!!! These are often over looked by many detailer's due to the lack of knowledge on how to tackle them and bring back that factory shine. We also ended up doing light polishing on the headlights and tail lights to remove some minor swirls and hazing. Like the paints clear coat, headlights have a coating over them to protect the lenses from UV rays (ever see yellow lenses on headlights? the coating failed or warn out and caused the lens to absorb UV rays). In this case we were coating them any way, more on that later on down.


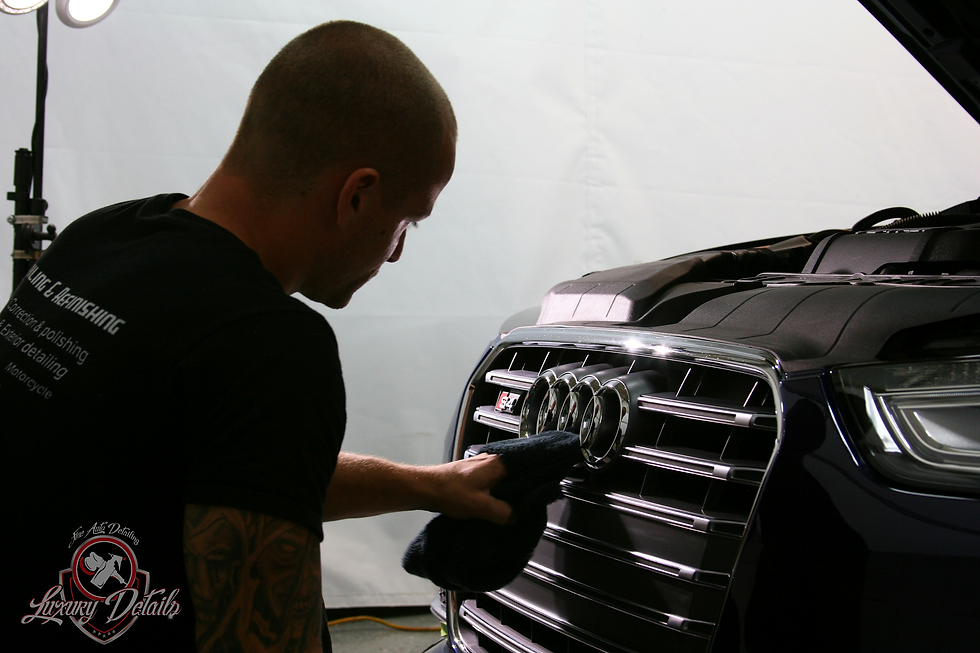
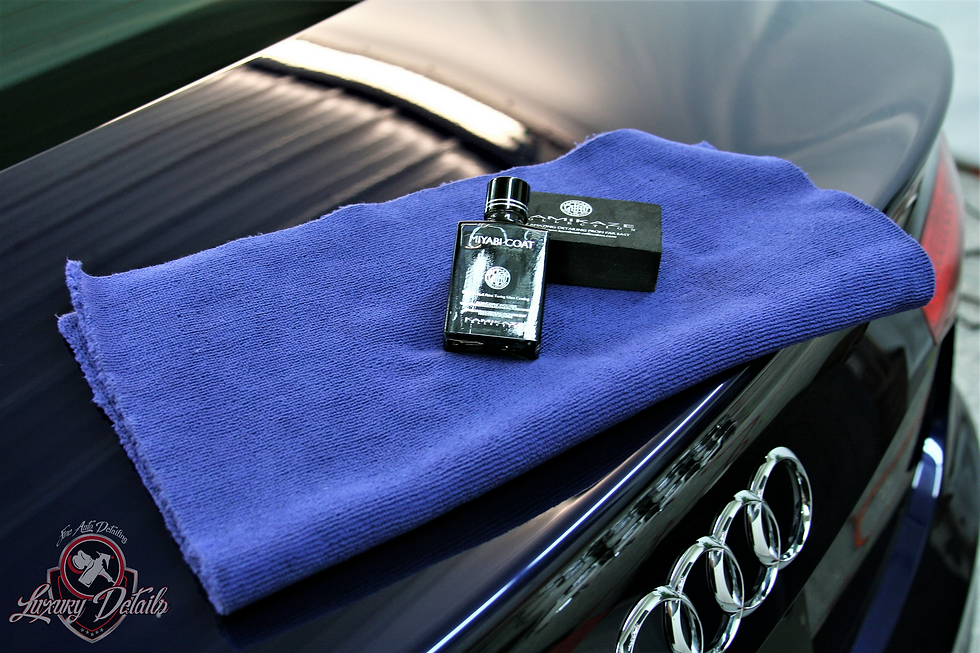
Grill, trim pieces, and badges were detailed using cotton swabs and other small detailing tools to get in all the small places normal washing misses. Normally on a full correction badges may be removed to polished behind and around them and then replaced. In this case they were still in good shape and we used swabs to polish inside and closely around them. This customer also purchased a coating as well for a number or reason. The top two being to protect the detailing that was just completed and make washing the vehicle a lot easier, reducing the risk of marring and swirl marks. As well as to magnify the shine for and extended period of time. Unlike traditional waxes and sealants that last weeks and months a quality coating can last years if installed and maintained properly. The entire vehicle received two coats of Kamikaze Miyabi Glass coating, which is hand made in japan and sold and used by Esoteric out of Columbus Ohio @ www.Esoteric.com , and is one of the top coatings in the business.
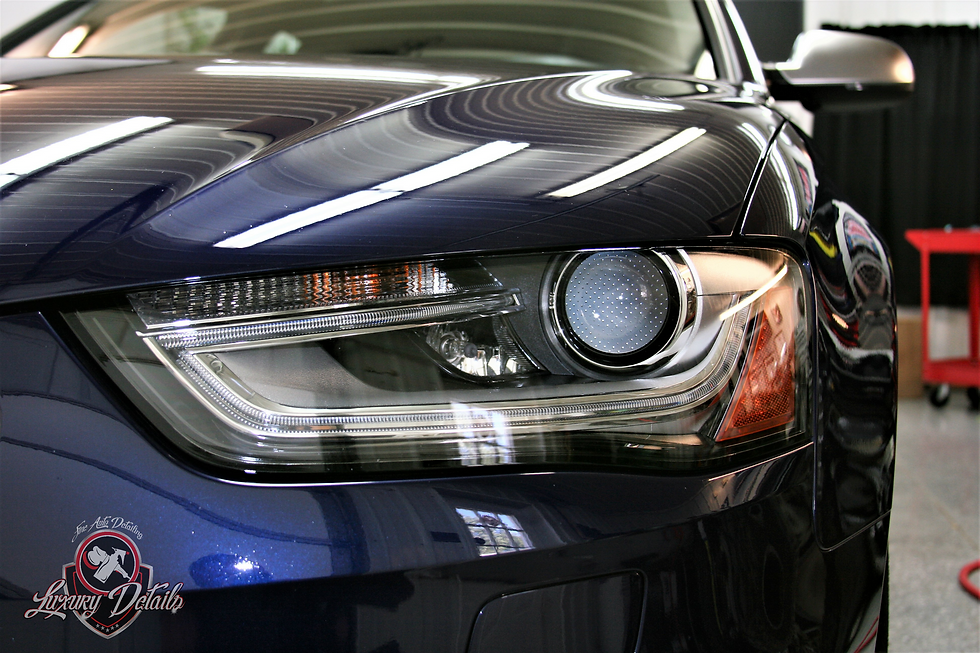
Below are some more before and after shots of the Audi S4. This was an awesome car to work on and we thank all of those that were involved. Stay tuned for more of our blogs and be sure to follow us on facebook and instagram!!! Thanks for reading.




_edited.png)


Comments